
Spellbound Sew-along: week 1
- Nicola

- May 30, 2018
- 4 min read
Updated: Nov 30, 2022

Gothic Gatehouse
When designing the blocks for the Spellbound sampler I pictured an abandoned garden at dusk in late Autumn. As nature reclaimed the vegetable patch and insects feasted on the last of the wild flowers, birds would be roosting in the trees and bats in the forgotten corners of tumbledown buildings. This block, the Gothic Gatehouse, is the entrance to our enchanted garden.
EDIT: Although the sew-along has finished, you can still use the weekly posts as a guide and sew with a group of friends. You can find the Spellbound Sampler pattern book here and on Amazon, or the PDF Pattern Bundle here.
CUTTING...

Follow steps 1-6 in your pattern...
A Note about Background Fabric:
Unless you are using different backgrounds for each block - LOVE that idea - there is no need to cut your background yardage into Fat Quarters.
I cut 2 2½" strips and 1 3" strip from my light lime yardage before sub-cutting the pieces for my block, keeping my trimmings for the next block.
PIECING THE WINDOW AND DOOR UNITS...

Follow steps 5-7 in your pattern.
A Note about Strip Piecing:
Strip-piecing allows you to make the fiddly window units more easily. As you are starting with slightly larger pieces, you have some wiggle-room to trim down your units.
I also recommend sewing your strips together with a SCANT ¼" seam, that is, a thread or two less than a ¼", which makes allowance for the thickness of the fabric when pressing your seams. This does actually make quite a difference on small units.

The Gothic arch on the Gatehouse door is created with 2 1½" squares. You will draw a diagonal line on the back of the squares and then sew on that line to create the triangles at the top of the door, just as you would on a classic snowball block or when making Flying Geese units. I first saw the technique on Allison Harris' wonderful blog Cluck Cluck Sew.
It's a lot easier than sewing with teeny weeny triangles, I'm sure you'll agree, and it's a technique we'll be using a lot on our next block, the Pumpkin.

At this point I like to lay out all my pieces near my sewing machine
Piecing the chimney unit - step 8 - is fairly straightforward, so lets move on to the roof. The technique we're going to use to create that steep, Gothic gable may be new to you, but I hope it will become a favourite because it's so versatile.
PIECING THE ROOF UNIT...

Follow steps 9 - 12 in your pattern
The gable is essentially a Triangle-in-a-Square unit. There is a template at the back of your pattern which you will use to MARK PLACEMENT lines on your unit. If you have a lightbox you don't even need to cut out the template, as I shared here, and can trace the lines directly from the pattern ((a) and (b) above). If I don't plan to use my lightbox I cut roughly around the template and stick it to an old cereal packet using a glue stick before cutting it out accurately. With PAPER scissors, not my precious fabric scissors.
You will then cut oversized side pieces - step 9 - which you will position on the line and pin in place before stitching ¼" from the edge (the stitching line is highlighted in (c) and (d) above).

Once the side pieces are stitched in place (a) the whole unit is turned to the wrong side to trim, using the the original square unit as a guide (b). The excess background layer can also be trimmed away to reduce bulk (c). Once the roof is assembled (step 12) the background pieces are added to each end in just the same way, although I used my paper template this time (d). There's more about this technique here.
Again, piecing the wall unit - step 13 - is easily done with our prepared door and windows, so lets move on to...
...ASSEMBLING THE BLOCK

Follow steps 14-15 in your pattern.
The block is assembled in rows and there are only two places - where the chimneys meet the roof - that you want your points to match, so it's worth taking a little time here. Mark the ¼" seam (a) and join the points with a pin placed pushed all the way through to the pinhead (b) to secure. Pin on each side of the point (c) before removing the first pin. When you've sewn your seam the points should match up really nicely (d). Always a good moment. I'm indebted to my lovely friend Anjeanette Klinder who shared this brilliant tip on her blog, here.

The back of the fully assembled block, showing seam direction
You've finished building your Gothic Gatehouse - hurray - and covered most of the techniques that we'll be using in the rest of the quilt. Before you go and have a well-earned nap, I thought it would be fun to share a little behind the scenes peek at how I'll be putting these tutorials together...
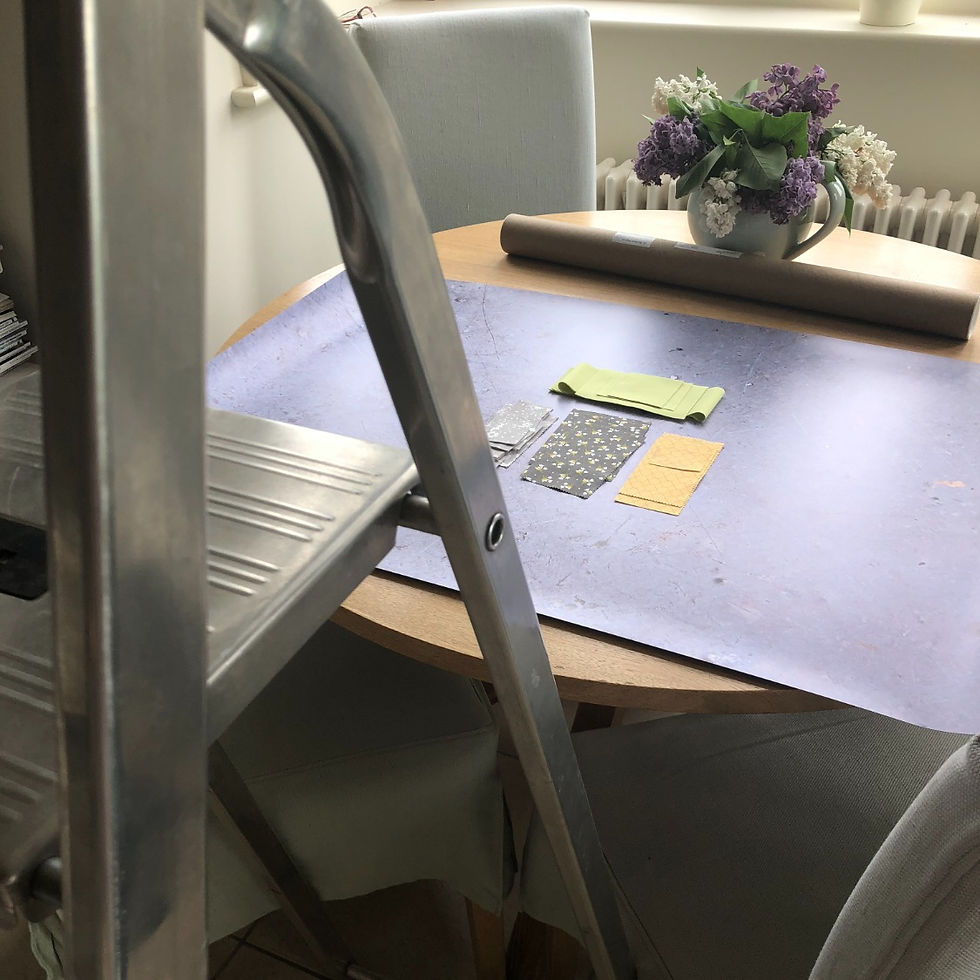
This is the lovely, light-filled bay window where I take my photos. I use a vinyl backdrop sheet - which I bought here - to arrange my part-made block on. And to get that perfect, flat-lay shot I shin up a step ladder. Nothing but the finest for you, my sew-along friends...
Nicola xx


